Silver clay experiments
It’s been quite some years since I attended a silver clay workshop, but I never forgot how fun it was- and how I wished I could do this at home/the studio. At the workshop, they had an impressive kiln to heat all our creations, tools to add extra loops for the necklace and solder silver,… just everything, and that seemed impossible (as I love to try new things now and then).
The home solution.
Unexpectedly, I stumbled upon a way to have small-scale experiments at home! All I needed was a small hotpot that could fit in an (old) microwave! It sounded too good to be true, but I wouldn’t be sharing the first results if it all went to hell :-D.
I got something like this which can also be used for melting glass.
To get started the elegant way, one should first create some rings to test the firing time, all according to the instructions of the manual… but that was just way too boring and confusing for my eager-to-start-brain so I decided to just make 3 simple pendants and let Joeri help me with figuring out the technical side. That manual had frustrated me to the point that I almost gave up on the plan- until I watched a season of “All that glitters”(on BBC) a competition for jewelry makers with 2 different challenges each week. I wish they made many more shows like this as it was super inspiring and I love watching masters at work.
Back to the clay.
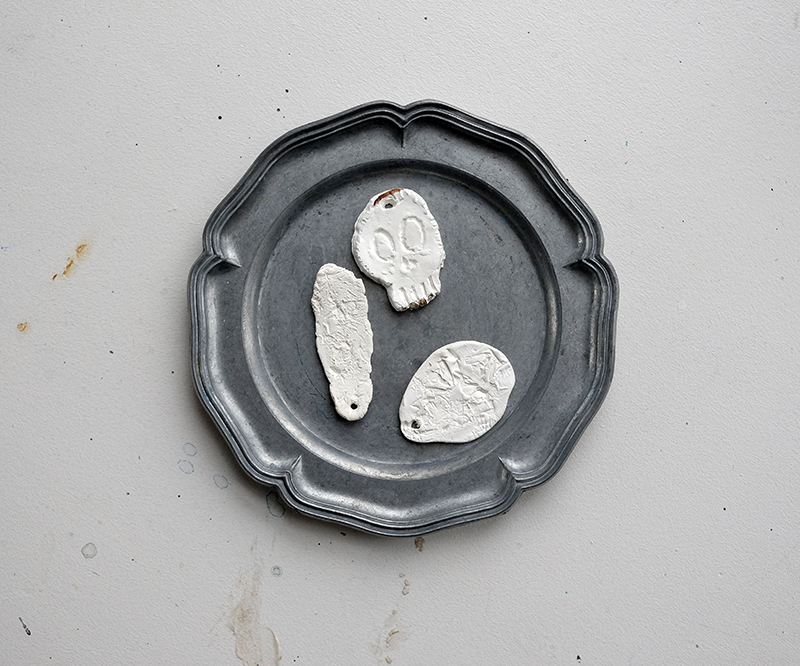
Silver clay comes in small, airtight packages that keep the clay moist and smooth, but as soon as you open the little bag, air comes in and the clay starts to dry out. That means, you need a plan and work fast. I didn’t have a plan, messed up a few designs, and panicked a little when I felt the clay drying out. Now I remembered why we got wax to create a design first, this way, you can prepare all the pieces that you need and have the tools ready. I, on the other hand, was pulling kitchen drawers with dirty fingers and digging for just anything that could help why the clay was having a life on its own 😀
After making the designs, I let them dry for at least 12 hours. You can speed up the process, but we preferred to take our time. Joeri helped me fire them one by one and although he followed the instructions, he was confused with how they turned out:
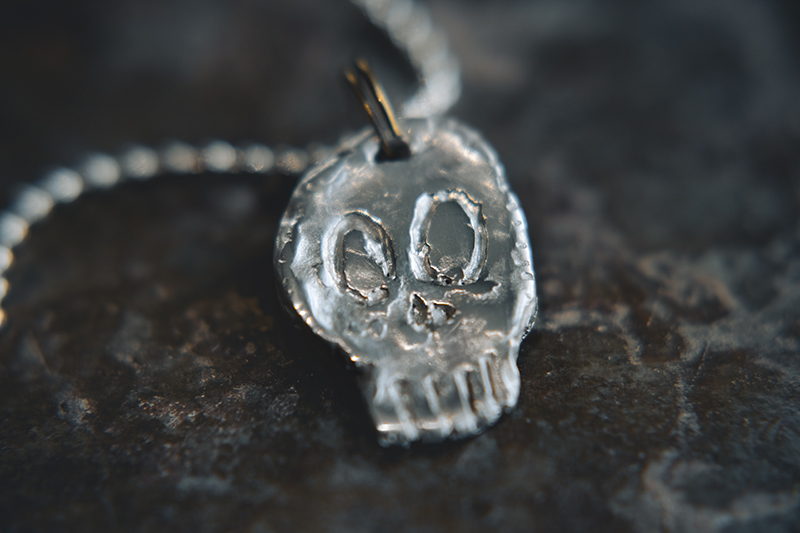
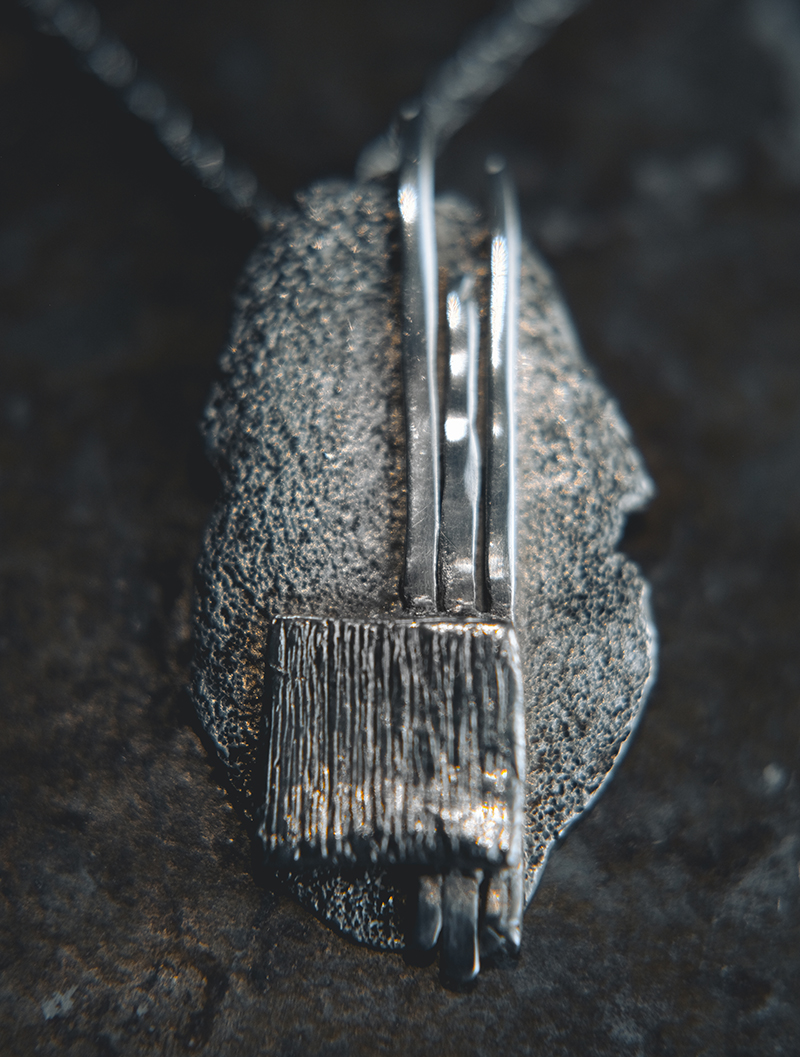
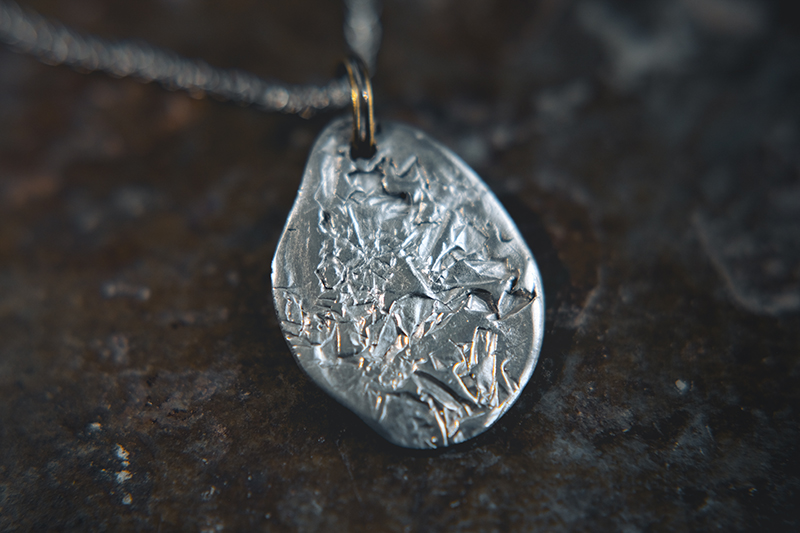
Freshly baked silver clay isn’t as attractive as freshly baked bread. On the contrary, it’s only the start of the whole sanding and polishing quest- and again I was wondering why I always pick hobbies that require so much sanding haha!
There is however so much magic in slowly revealing the beauty of the silver, the metal coming out, the shine revealed. Suddenly this clumsy piece of clay transforms into jewelry, right in your hands! yeah, I live for that sensation 🙂
In short:
– This type of clay is also available in gold and copper
– You need a hot pot, microwave, and tools like toothpicks and a sharp knife (or the real stuff).
– Silver clay dries fast so no time for too much fiddling. A detailed plan/design in the right size or made of wax will help the process.
– Sanding/polishing takes different grits, steel brushes, and some patience.