Jesmonite Terrazzo experiments
While scrubbing this Jesmonite experiment for hours, I was wondering: Why the heck do I always pick hobbies with so much sanding involved?!?!@%&$@%” 🙂
But I have to admit, I’ve had great fun with this project even though it didn’t succeed from the first try.
Here are some images of that first round and I’ll explain the product and process a bit more.
Jesmonite is a composite material used in fine arts, crafts, and construction. It consists of a gypsum-based material in an acrylic resin. Unlike epoxy, it doesn’t release toxic fumes and once it’s dry, it’s very durable. The product comes as a liquid + powder base that you have to measure and mix yourself. During the mixing stage, it’s possible to add color- otherwise it’s just white.
Jesmonite is the brand that is available here in Sweden, so if you search for acrylic resin, you might find a similar product with a different name/brand.
To guide the product into a certain shape, a mold is used. You can use empty yoghurt bins but I really like silicon molds because they are very flexible and resusable.
In order to get the Terrazzo-effect, you need to first create the small pieces. I chose to keep them white so I only had to mix the base product and spread it out thinly on a flat piece of silicone (you can also use a plastic bag). When this is almost dry, you can pull it off and break into small pieces. Don’t wait too long because it will become super hard!
Once the small bits are ready, it’s time to mix the rest of the product + add the terrazzo bits- and then you have to work rather fast to get all the product into the molds.
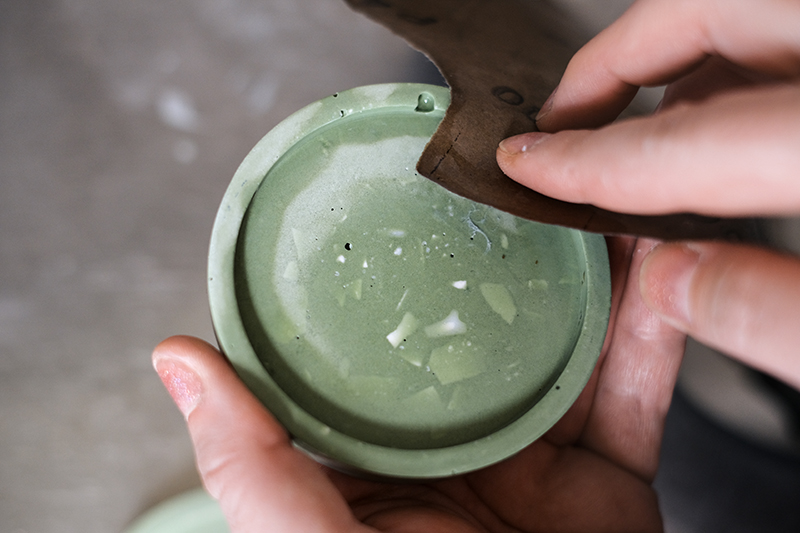
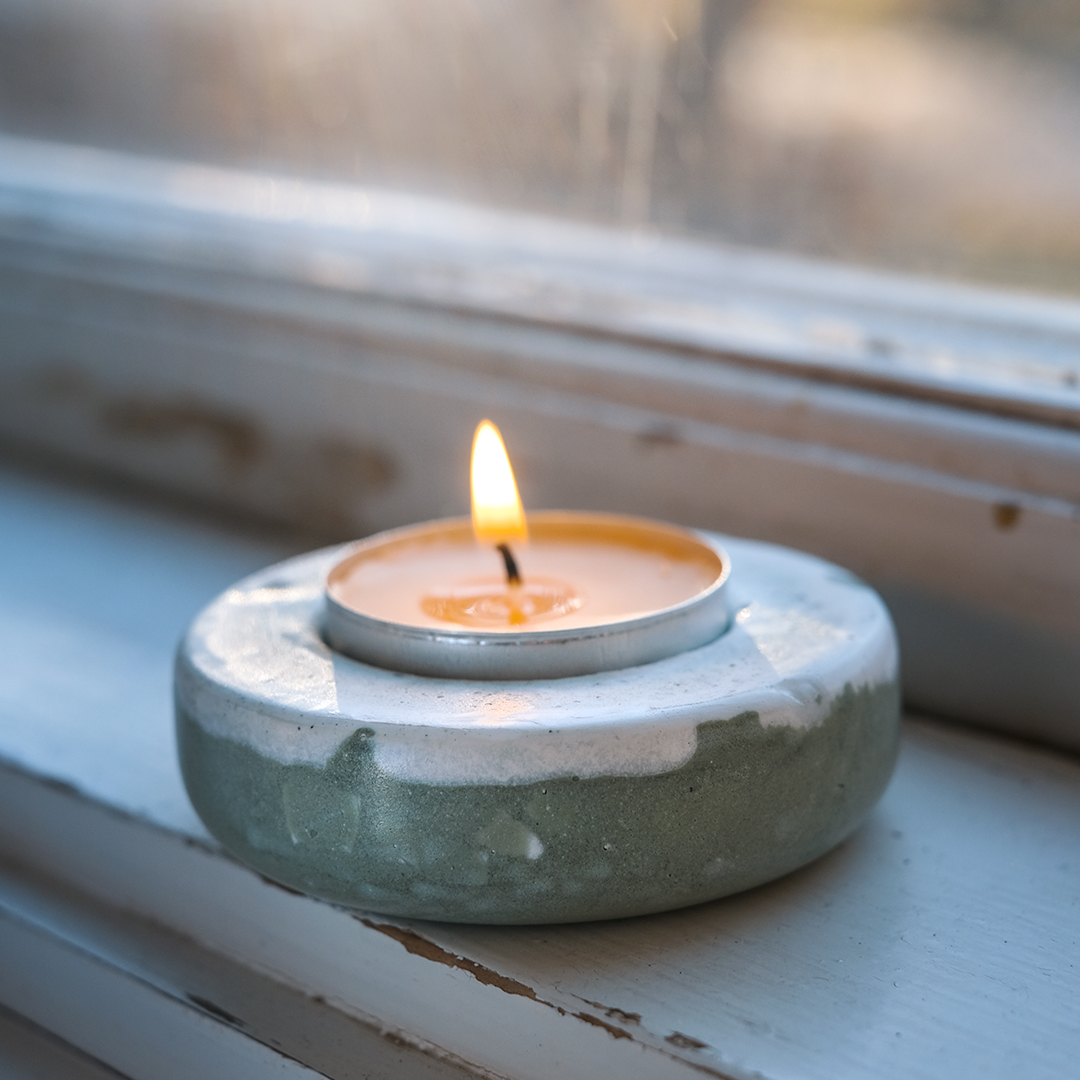
My first attempt was a set of coasters with Terrazzo effect and, because I had some product left, also a candle holder. For the candle holder, I used a soap mold and I pressed a candle down to get the shape 🙂
To reveal the Terrazzo pieces after drying, you need to sand with different grits, and that’s really the part that takes up the most time.
A bit clumsy but it works:
Air bubbles are the buggest challenge and if they appear, there isn’t much you can do. After the first set, I tried different approached to eliminate air bubbles. What worked best for me is starting out with filling the small edge of the mold with jesmonite without any terrazzo pieces in it. Then adding the rest of the mix and shake well before letting is set and dry.
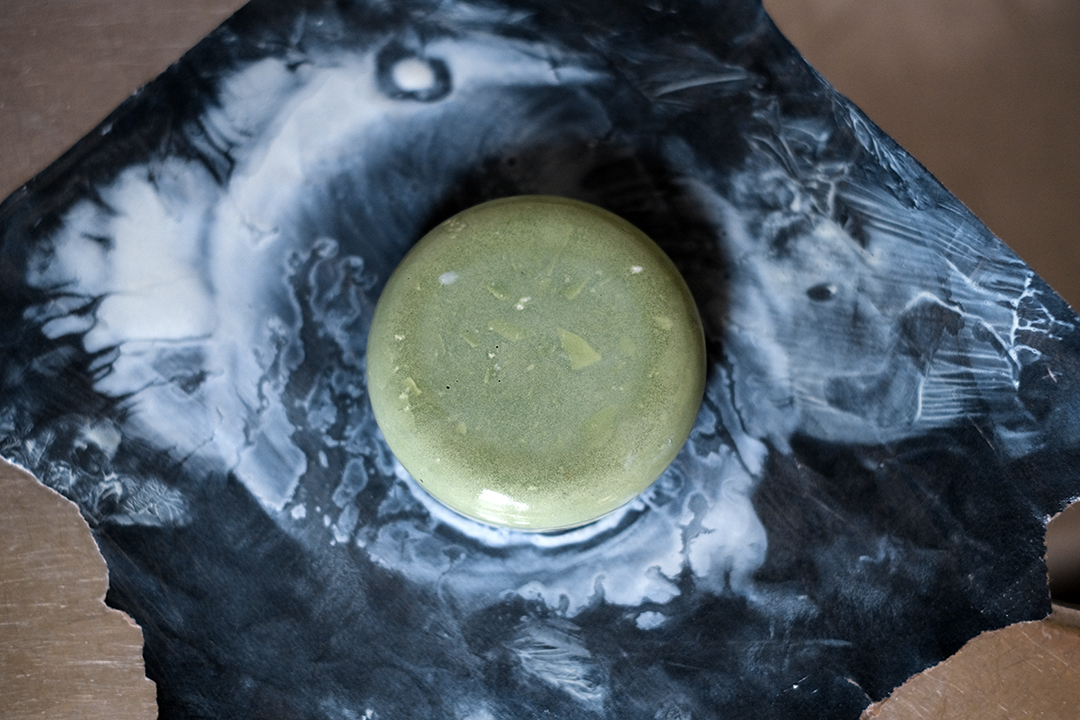
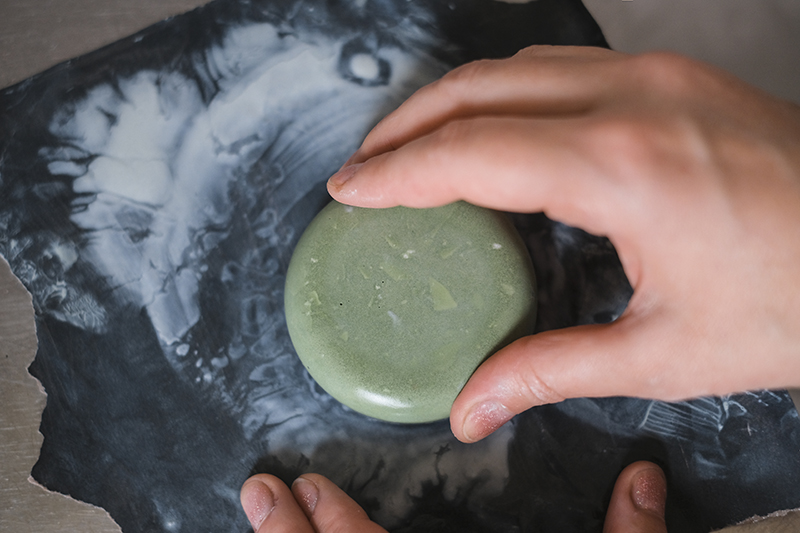
Here you can see the before versus after starting with sanding (the one on the right is still a bit wet).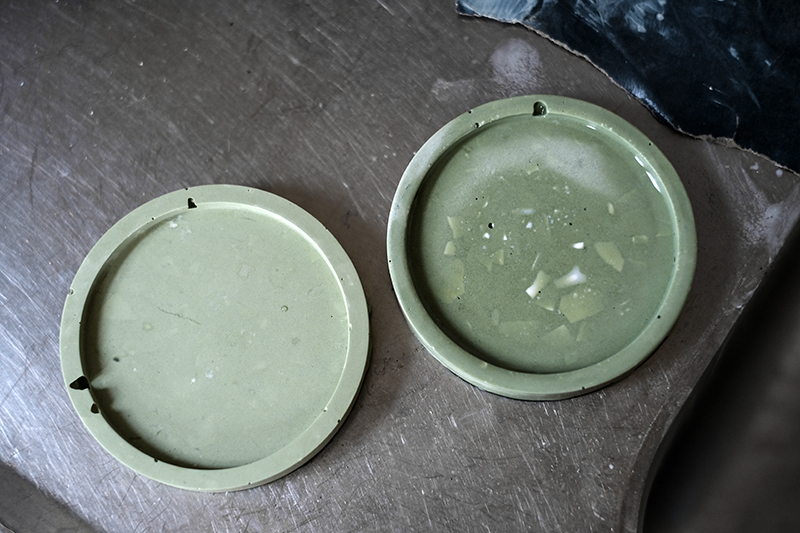
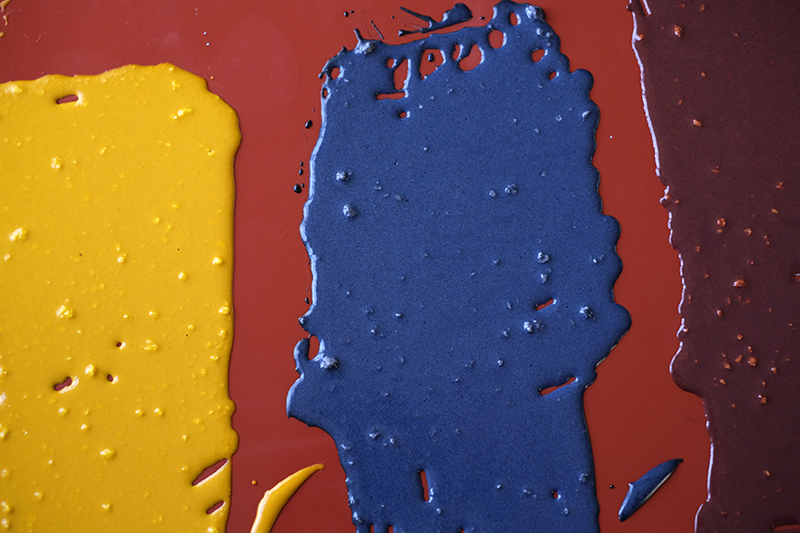
I had read that it’s important to not use too much (water based) pigment in the jesmonite mix to avoid disruption of the drying process- but I have to say that all my tests so far dried without any issue. The best colors I get from using some kind of unlabeled ink that I have from a Chinese website many years ago. Acrylic paint works too, but I’m having trouble to get vivid colors.
Next step was mixing some more colors and testing different combinations and pouring techniques.
I’ll share the results in another blog post when I’ve made some pictures!